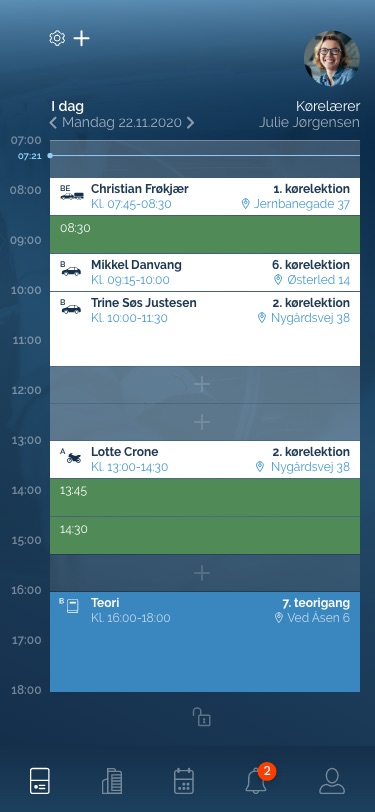
There are 6 different types of Lessons/Events that can be created from the Dashboard. The Theory Lesson can not be created here, because it is created when you create a new team and ad students in the WebApp. The Theory Lesson will of cause be shown at the Dashboard and can be clicked and sign students etc. just like the other events below.
Lessons that can be created at the Dashboard
DRIVING
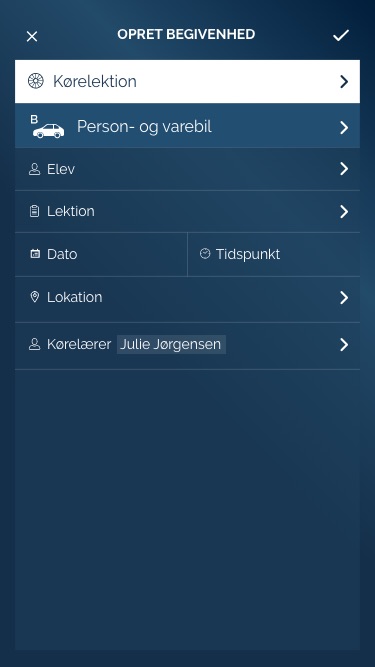
Kørelektion (Driving Lesson)
Most Driving Lessons contains one Lesson but in some cases they contain two Lessons. In this case when this Driving Lesson(two Lessons 2×45 min) is being booked either by the Instructor or the Student then the system must split each Lesson up in it’s own 45 min bookingslot right after each other. In practice this means when you need to sign you have to click each Lesson and sign individually both for Instructor and student. This rule applies ONLY for Driving Lessons and NOT for:
Lukket øvelsesplads and
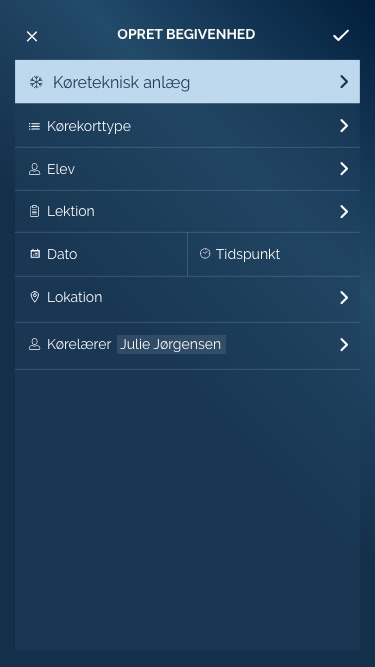
Køreteknisk anlæg
MANDANTORY EVENTS
Førstehjælpskursus (First Aid)
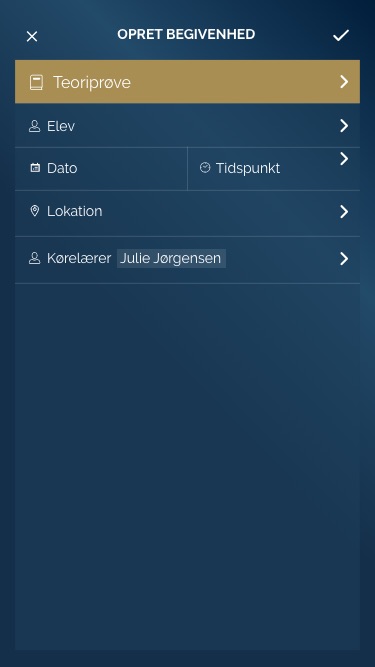
Teoriprøve (Theory test)
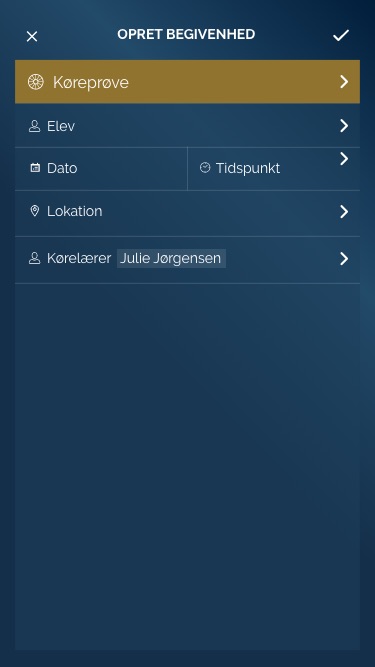
Køreprøve (Driving test)
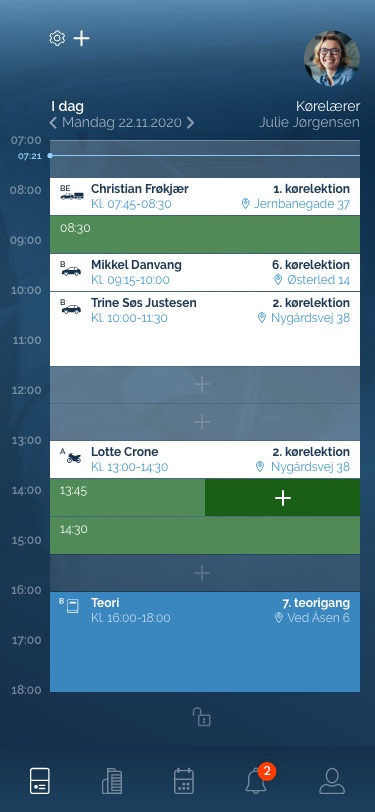
Create an event by clicking "+" top left corner or right double click on an green booking slot.
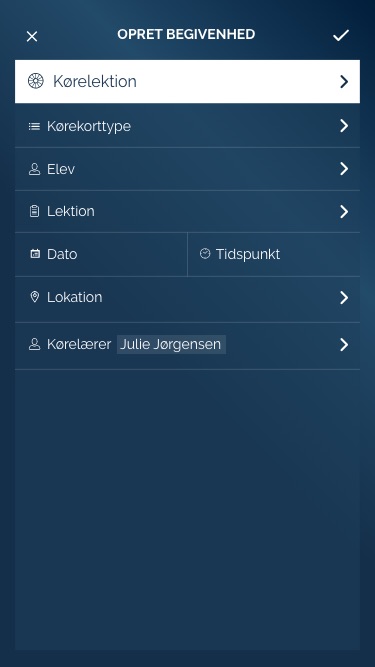
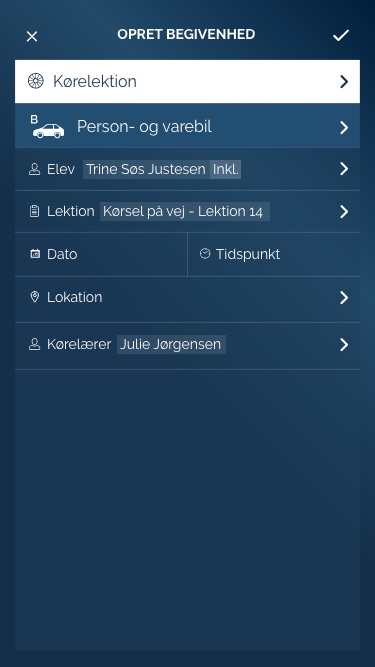
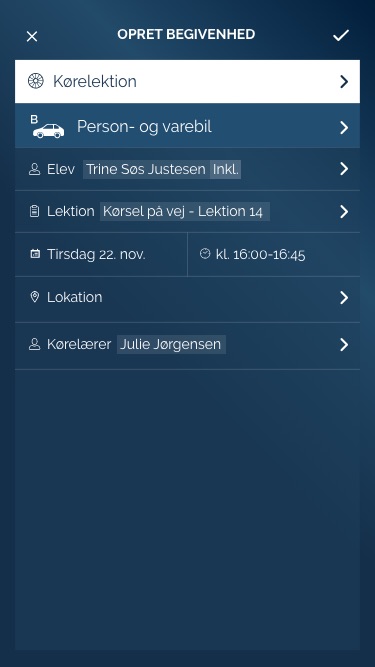
At "Opret begivenhed" page there is an icon to the left of all text. You have to choose and fil in:
- Type begivenhed
- Kørekorttype
- Elev
- Lektion (This will automatic be set after you have selected the Student. The system knows the Student and knows what Lesson that is next in line)
- Dato and Tidspunkt
- Lokation
- Kørelærer (The logged in Instructor is already been selected by default)
Type begivenhed (select type of event)
Icons (as already used in the App)
- Kørelektion (Driving Lesson) bg color: white #FFFFF - icon and text: dark blue #1E3A55
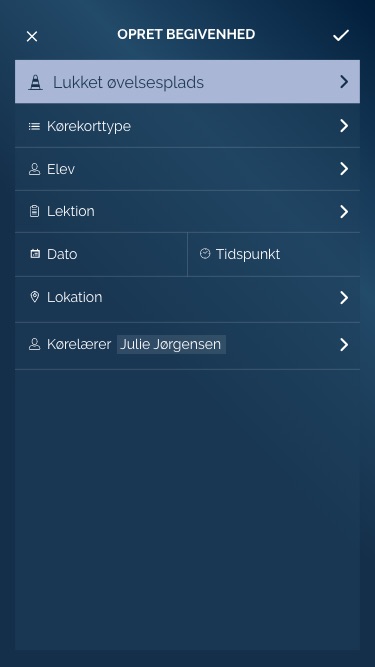
- Lukket øvelsesplads (Closed rehearsal Center) bg color: light blue #BED9ED - icon and text: dark blue #1E3A55
- Køreteknisk anlæg (Road safety Center) bg color: purple #A9B6D6- icon and text: dark blue #1E3A55
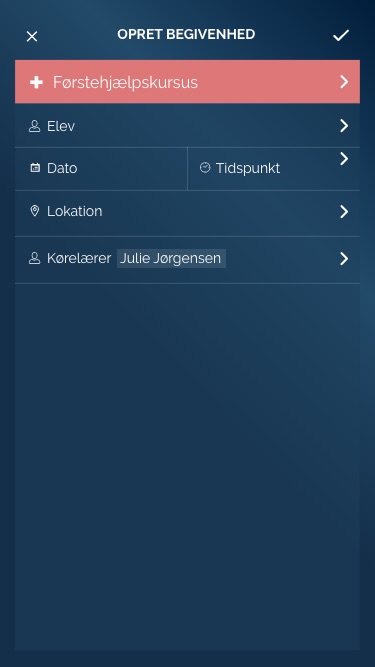
- Førstehjælpskursus (First Aid) bg color: indian red #DD7878 - icon and text: white #FFFFFF
- Teoriprøve (Theory Test) bg color: light gold #A88E53 - icon and text: white #FFFFFF
- Køreprøve (Driving test) bg color: gold #90732F - icon and text: white #FFFFFF

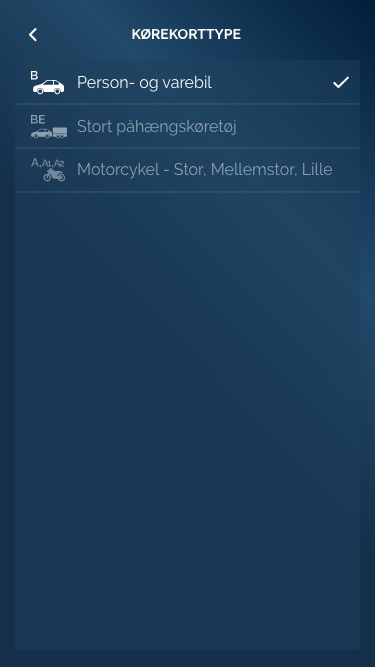
Click on a license type and the check mark will appear to the right. Click back on "<" top left
Kørelektion, Lukket øvelsesplads and Køreteknisk have been selected and is showing with right icon and there right bg color.
Select Kørekorttype
Icons and text is 50% opacity. Next. Click "Kørekorttype(License Type)"

Click a License type and icon and text become 100% opacity + check mark appear

License type is selected. Icon and text is color white.

If the driving school only have one license type to offer then this line will be pre filled out with the one they offer.
Select student
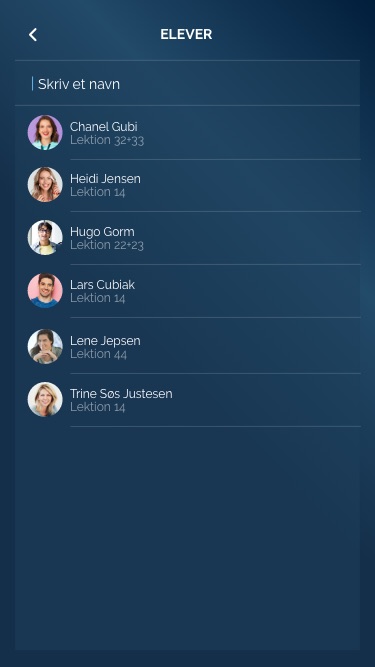
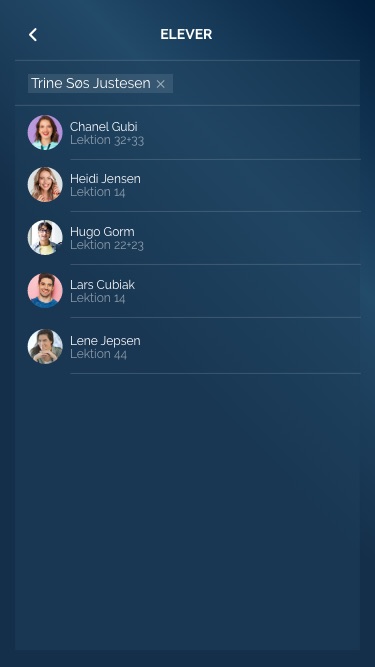
List of all qualified student(Right License type and Lesson like already made in the WebApp)

Click on a student and the student name and bg box(white 10% opacity) will appear at the top. At the same time the student you have clicked on will be removed in the list. To remove a selected student you just click the student name/box at the top and it will appear in the list again.

Lesson no. is showing underneath each student, because this is the Lesson next in line for them.
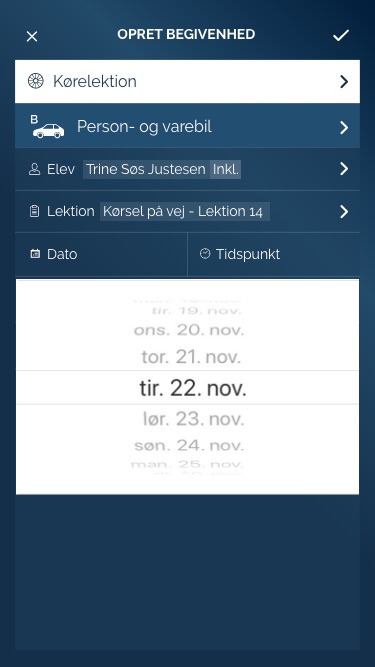
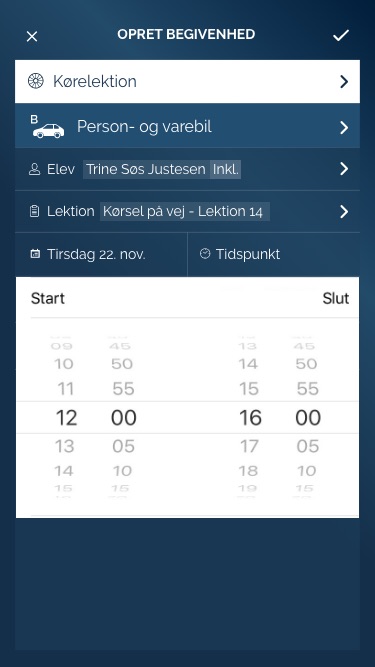
Select date and time

Click on "Dato" to set the date
Click on "Tidspunkt" to select time for start to finish
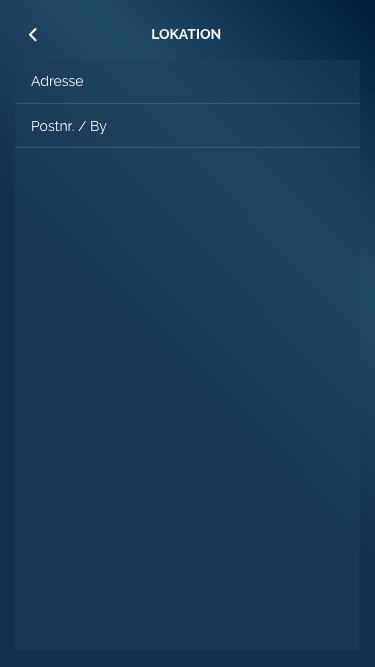
Set a location for pickup

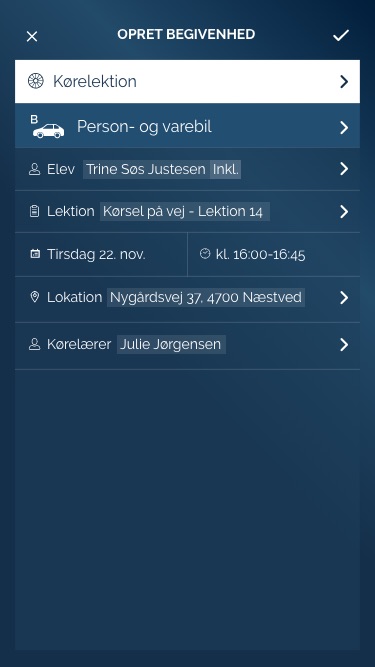
Location. When click the line with address the text disappear and you can write your own address. Same procedure with zip code. Click < for back. All input fields have been filled out and ready to save the event. Click the checkmark top right and the event is created.
Førstehjælpskursus, Teoriprøve and Køreprøve don't have the line to select type of licence and Lesson no.
